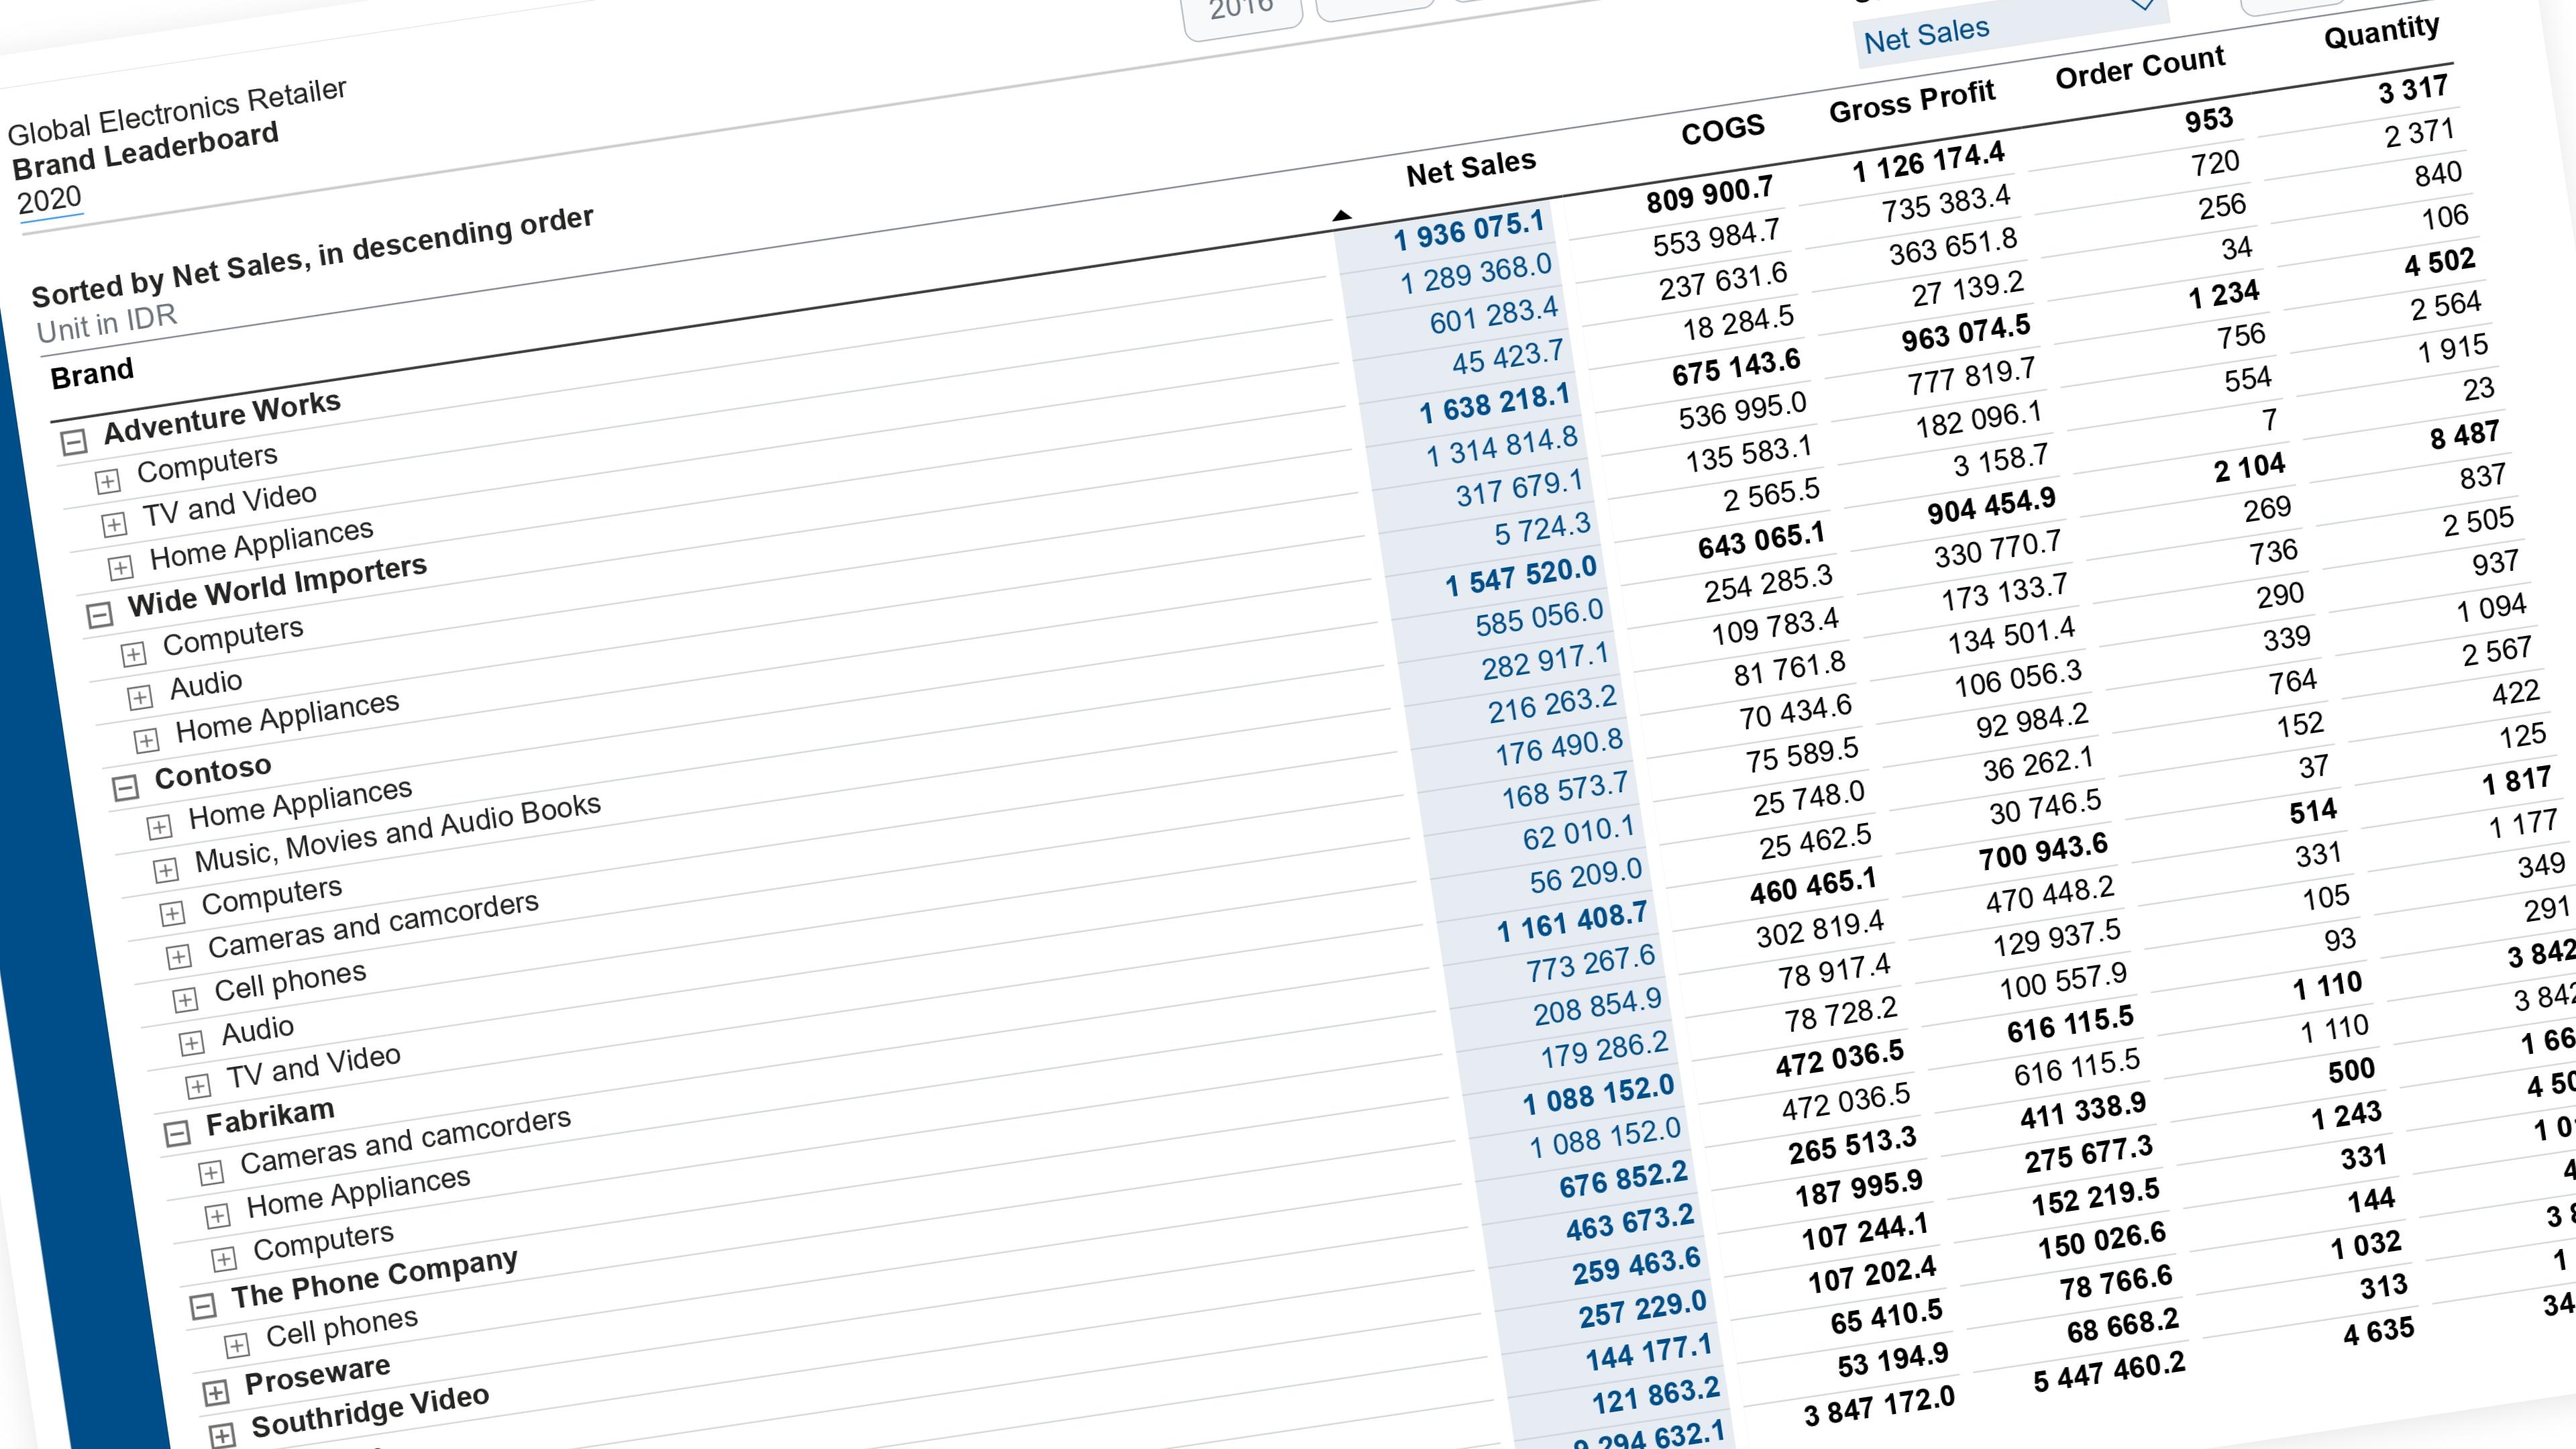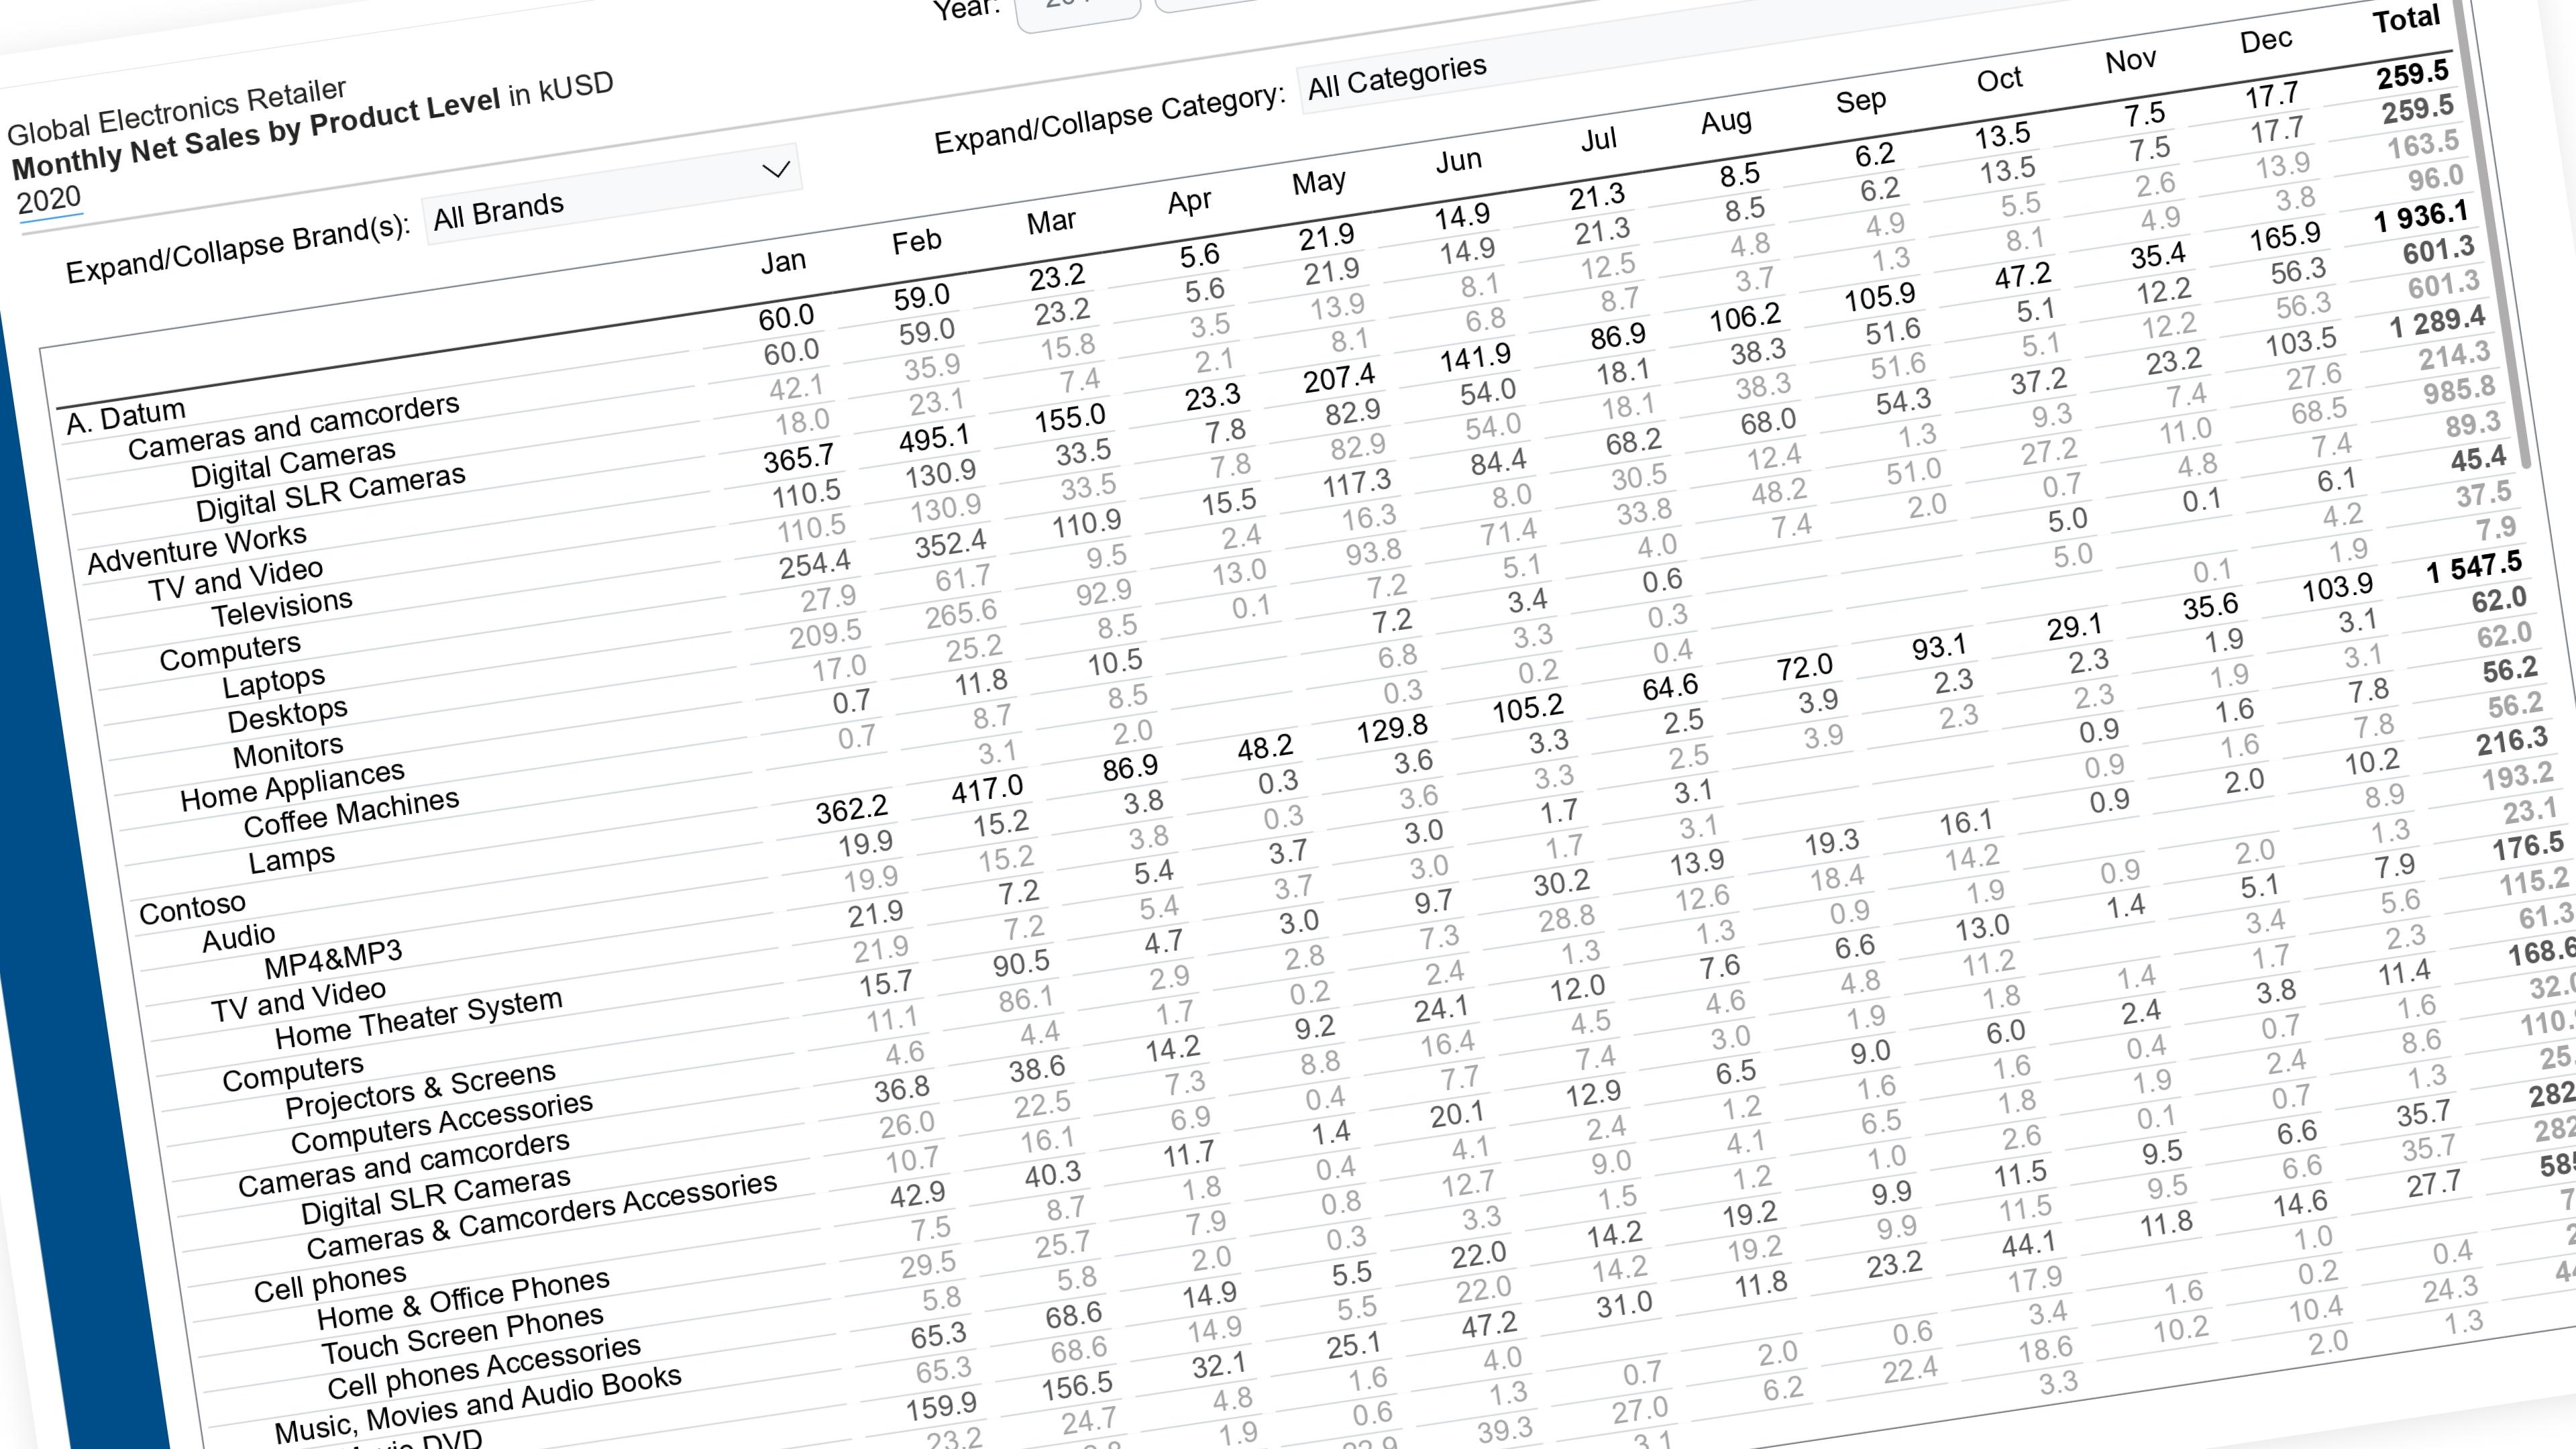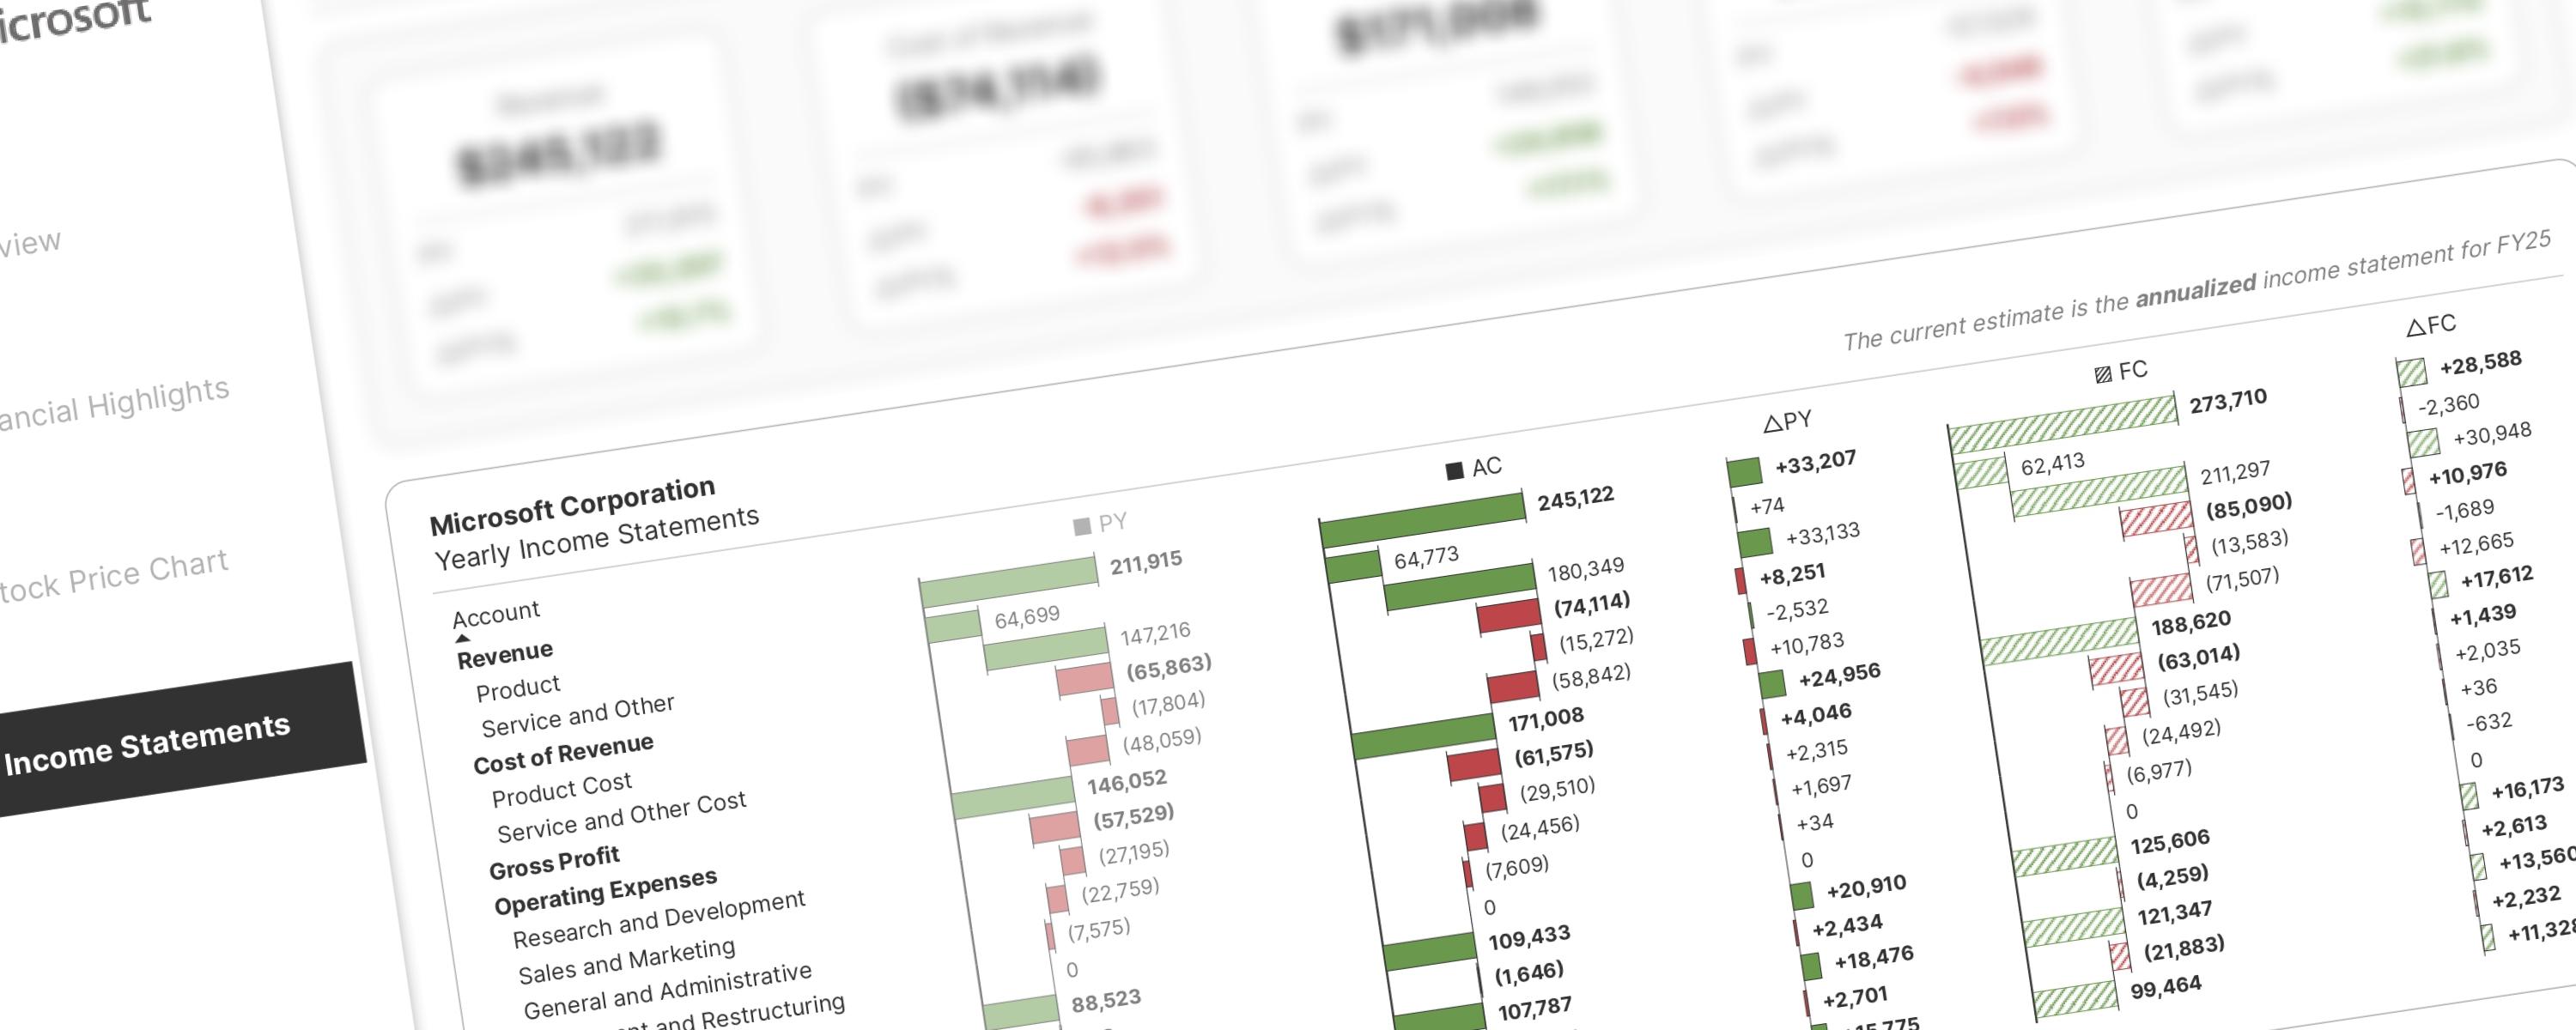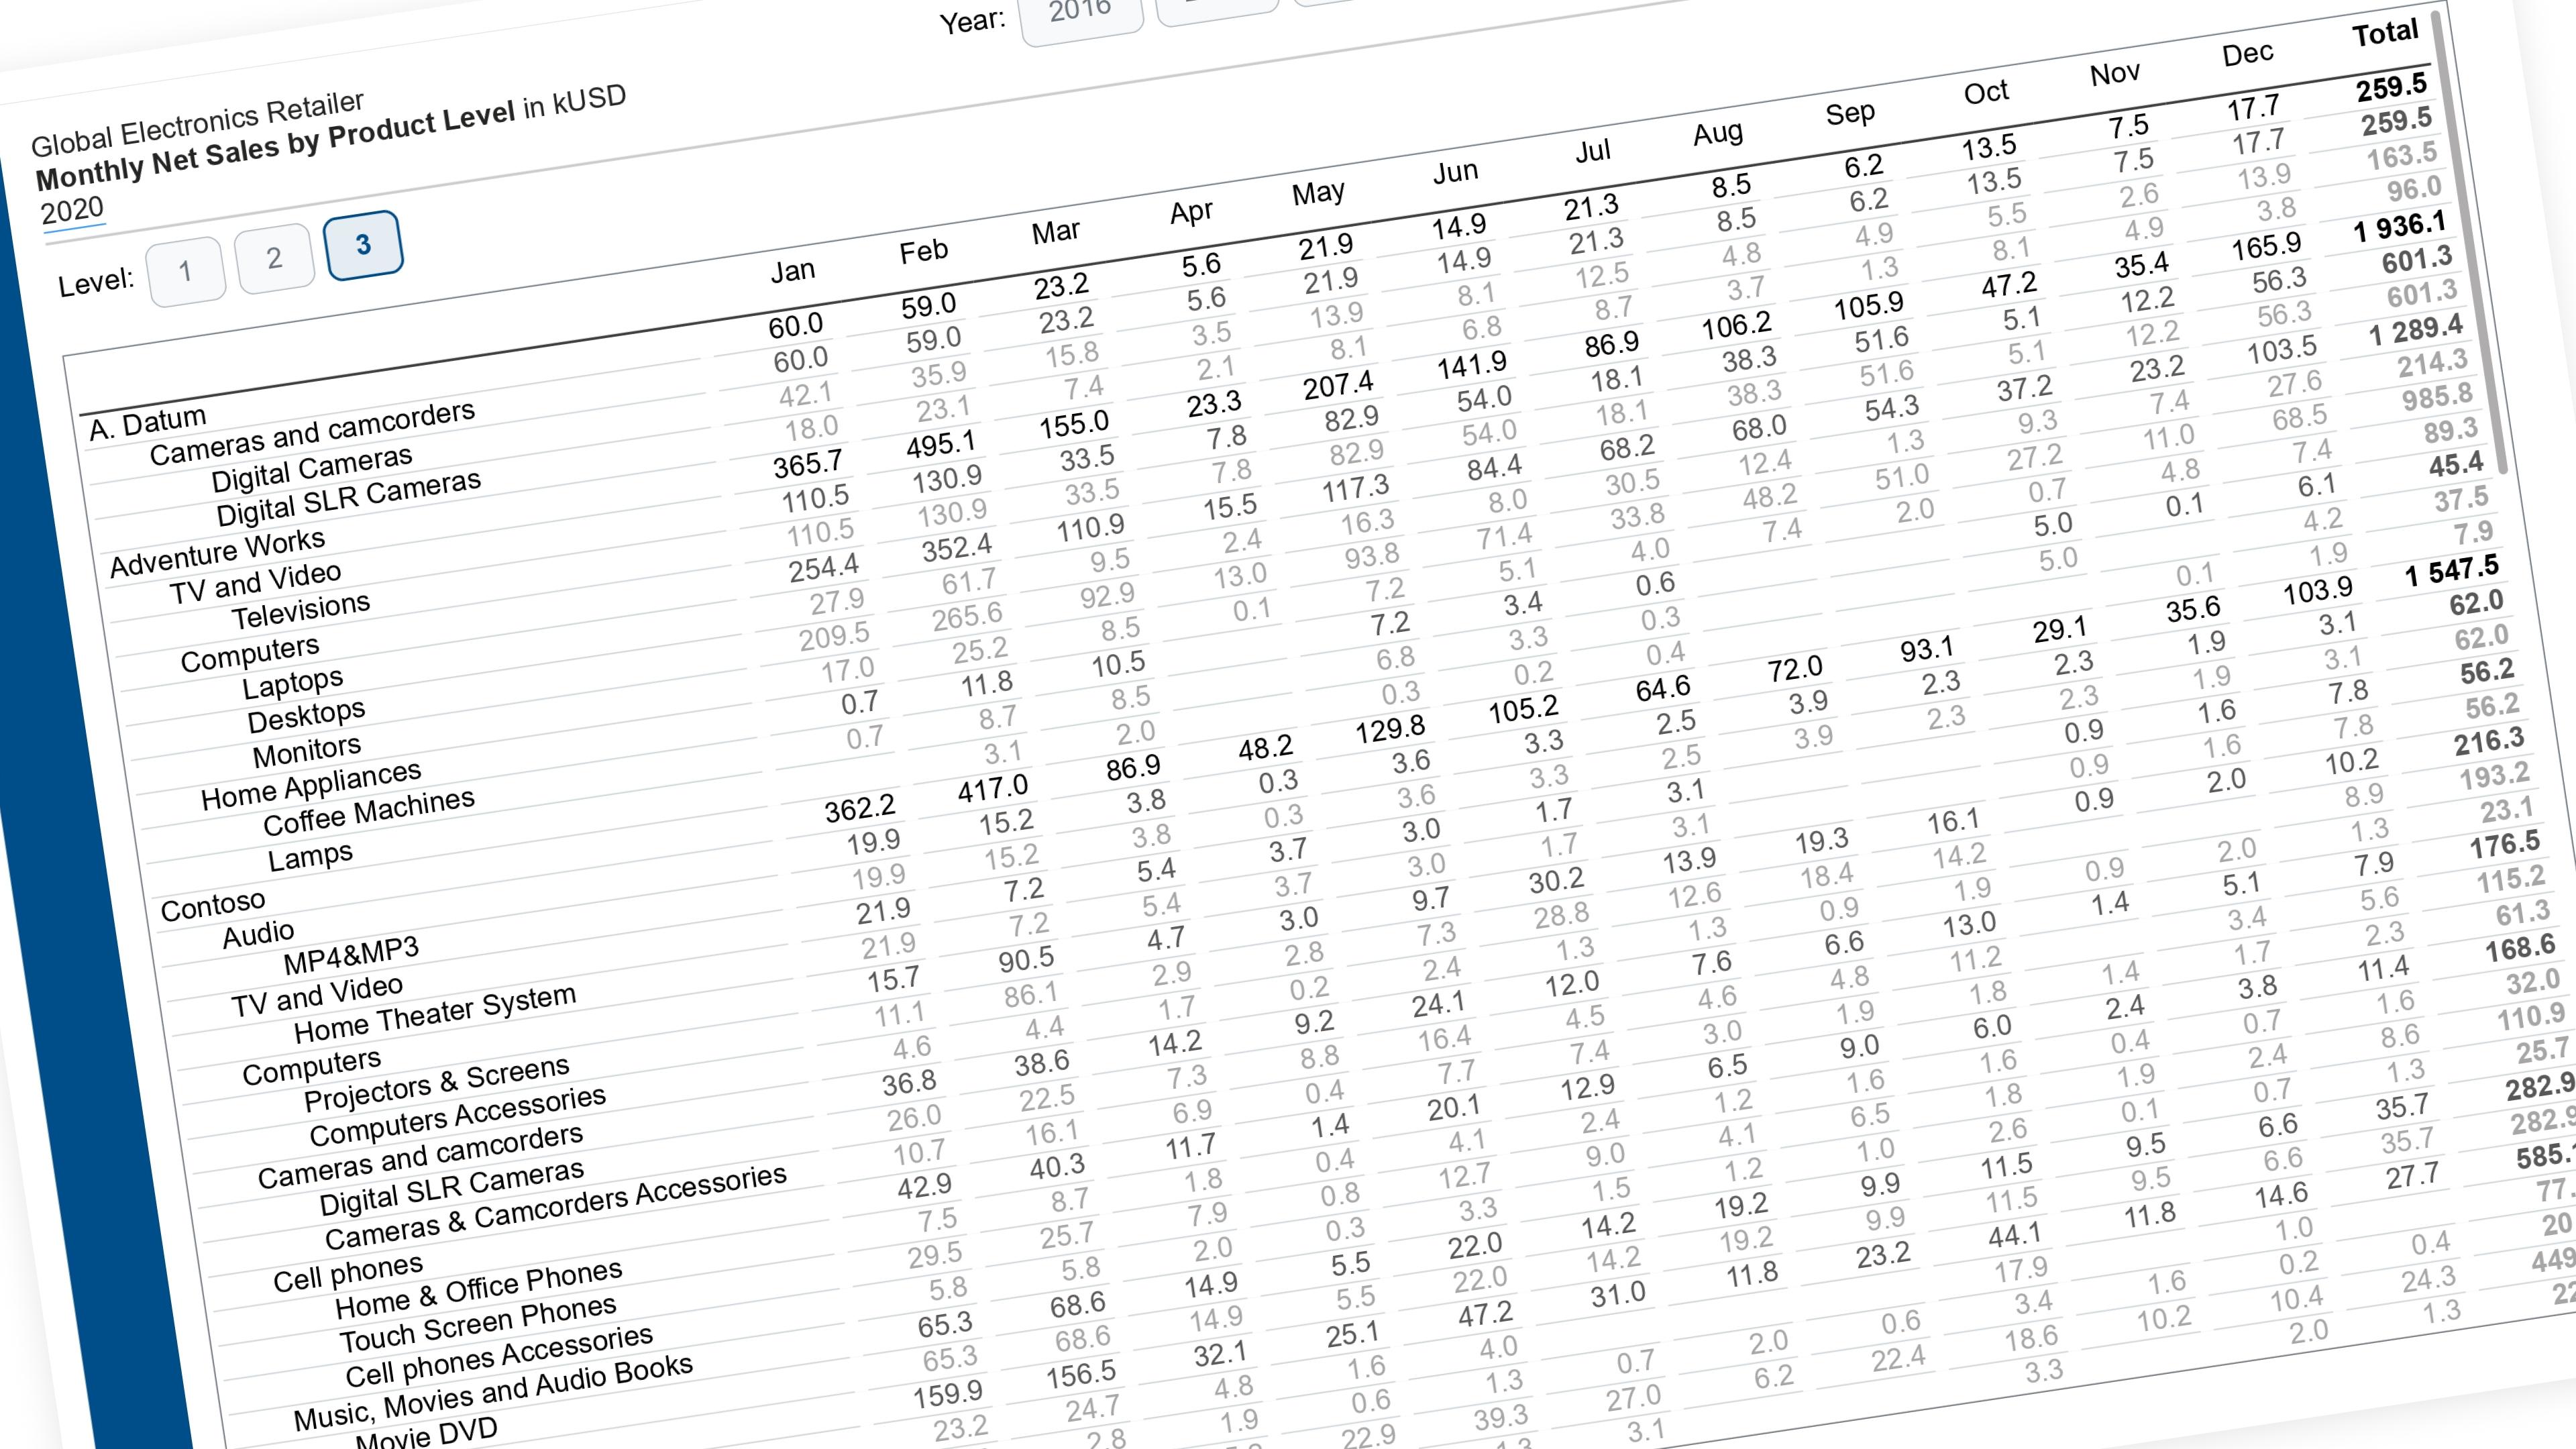
Let the reader choose how deep a matrix goes — with a single slicer. Works on any dimension with a 2–3 level hierarchy.
Method: the “flat layout table” approach. Instead of hiding rows from inside your value measures, you rebuild the hierarchy as one flat table, so a simple slicer + filter can collapse it.
Contents
- What you’re building
- Naming used in this guide
- The 4 building blocks
- Block 1 —
Depth(the slicer’s choices) - Block 2 —
Layout(the flat hierarchy table) - Block 3 —
Layout Show(the depth filter) - Block 4 —
Layout Value(the bridge measure) - Wiring it up in the report
- Optional — the “lighter look”
- Quick test checklist
- Why this method?
What you’re building
Instead of the + / − drill buttons, the reader uses one slicer to choose how deep the matrix goes:
The rest of this walkthrough is for members
You have read the problem. What is behind the paywall is the fix:
- The full step-by-step build, from measures to formatting
- Every DAX measure with the reasoning behind it
- The .pbix with the model already wired up
PowerLib Insideror $99 a year — two months free$9.99 / mo
Get accessAlready a member? Sign in with your email